
Beekeeping Basics 02: The Beehive
- Greg

- Dec 8, 2023
- 13 min read
Hello Everyone,
Welcome back to Beekeeping Basics – in this blog series I’ll talk about some basic fundamentals and understandings of beekeeping. I’m hoping that it will feed into any beginners’ course that you partake in or, as I know courses are quite hard to get onto after the initial April spate, this will aid you in your beekeeping journey until you can get on one. If you are enjoying these posts and are thinking about becoming a beekeeper yourself then, please see this post I wrote about how to do just that.
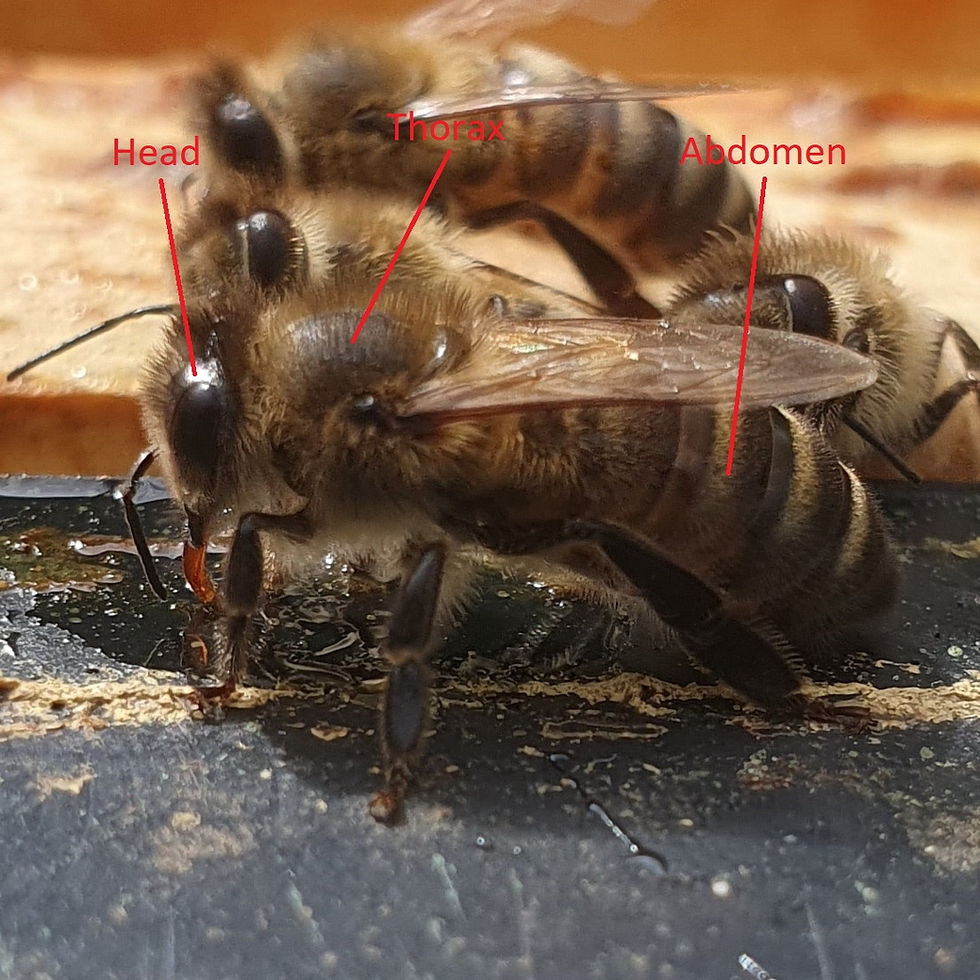
In Beekeeping Basics 01 we talked about the honeybees’ anatomy and the differences between the castes, so now it’s time to talk about their home, the “Beehive”.

Other types of eusocial bees create “nests” where they produce a small colony that grows, slowly at first, until they reach their peak in late summer and start producing queens and drones rather than workers. Their time is generally fleeting, lasting only a single year before almost all of the bees die off before winter. Solitary bees, as their name suggests, keep to themselves, and don’t create a home of any kind. The closest they get to it is finding/burrowing a small tunnel to fill with pollen and an egg, before they cap the end and fly off never to come back.
Eusocial: adjective of an animal species, (especially an insect) showing an advanced level of social organization, in which a single female or caste produces the offspring and non-reproductive individuals cooperate in caring for the young

Honeybees are the weird ones, as they remain in their “hive” until the colony dies, or external factors cause them to abscond. Even when they swarm, around half of the bees remain in the original hive while the other half flies off over the horizon. There are some wild honeybee hives that have been inhabited for decades on end. That isn’t a massive feat for domesticated hives as beekeepers tend to fidget with their colonies to keep them going indefinitely (if they can) but wild colonies usually have a lifetime of around 5 years before external factors take their toll.
When you look at all the types of hive available on the market, they come in many shapes and sizes but most, excluding some designer fever dreams, work on the same principles to ensure the bees feel at home enough to stay. They try to match how bees design their hives in the wild so that their natural instincts can be used to our advantage.
Bees in the wild

Before the introduction of human brick houses with lovely, insulated cavities, honeybees tended to make their nests in very old, rotten, or fallen trees, sometimes in old bird or squirrel nests. Their natural inclination is to build their hives vertically, as tree cavities tend to be taller than they are wide. Simply put, the bees would start as a swarm, producing a small bit of comb on the ceiling of the cavity. As more brood and storage was needed, they would build more comb downwards and outwards until the cavity is full.
There is an amazingly detailed lecture by a master beekeeper called Rodger Patterson on YouTube here (https://www.youtube.com/watch?v=txGzuVJhJ_Y&ab_channel=NationalHoneyShow) that goes into much more detail than I will do in this blog. If I have piqued your interest in bees in the wild, then I’d highly recommend giving it a watch.
In a wild hive the brood rearing area moves up and down the comb as the seasons change. Generally, the brood rearing area starts the year (January) at the top of the hive, as the ceiling of a cavity is the warmest part, and the brood needs a constant 32°C to develop properly. As the weather warms up and early nectar and pollen sources start to bloom, the brood area starts to expand outwards in the comb. So, what was probably only a small patch of brood in the centre comb will slowly start to grow outwards onto the other combs until the whole ceiling is taken up by brood.

The fresh nectar and pollen are deposited around the edges of the brood area to ensure its easily accessible by the nurse bees who are looking after the young larvae. Slowly as more and more nectar is brought into the hive, the bees realise that they need to start turning it into honey to save space. Nectar is has a water content of around 20-70% depending on the plants producing it, whereas honey is around 14-20%, it’s a massive amount of space saved by just reducing the water content. Honey is jealously kept by the bees, literally guarded with their life and to keep it safe it’s stored as far away from the entrance as possible, usually above the brood nest. With this in mind the brood nest slowly starts to move down the combs and the upper cells that adult bees emerge out of are quickly filled with the incoming nectar and then fanned to reduce the water content.
In summer the brood area is taking up a large swathe of comb and is usually right at the bottom with the cells above full of capped honey and fresh nectar. If there is no more room to expand and all of the cells are getting full of either brood or food the bees will decide to swarm. It only takes a week for the bees to make their preparations and for half of them and the queen to fly off to pastures new.
At this point a new queen will be produced and the remaining half of the bees will be able to focus on getting her mated and laying as all of their winter preparations are pretty much done. Slowly as the seasons change and it starts getting colder the bees will stop collecting food and will start to huddle around the brood area. Slowly as they eat away the winter stores, the brood area will start to move back up to the hive ceiling and the process starts all over again the following year.
To oversimplify the process, you can cut the hive into two specific areas:
1. The brood rearing area.
2. The honey storage area.


The brood rearing area is where the bees grow from egg to fully formed bee. It is usually surrounded by pollen, the protein of the insect world, and is always below the honey storage area. Yes, bees genuinely believe their honey stores are more important than their larvae. When the bees run out of honey storage area, they start to fill the brood rearing area with nectar and honey causing the swarming impulse.
The majority of hives on the market are designed to replicate this process and give the bees more and more honey storage space to impede their swarming impulse. Trying to stop bees from swarming is like 80% of beekeeping by the way! That’s why we do weekly inspections and have so many different techniques to prevent it.
The common design between all of the hives are that the areas allocated for brood rearing are generally the biggest, to give the queen a good amount of space to lay up and maintain a strong colony. This box is generally called a “Brood Box”.
The areas designated for storing honey are called “Honey Supers”, these can be all shapes and sizes, some people even use upturned jars, so they don’t have to bother extracting the honey. This isn’t how humans started keeping honeybees though.
History of beekeeping
Today a beehive is generally just a box, possibly made from a myriad of possible materials, filled with removable wooden frames of honeycomb to simulate the inside of a wild hive, whilst giving the ability to inspect the cells. Back in the day, when we actually started keeping bees, rather than attacking wild colonies, beekeepers used a large, upturned cup-like object made of coiled hempen rope as their hive. It was called a “Skep” and is a relatively well-known design with non-beekeepers, even they don’t know what it necessarily has to do with bees.

“Skep beekeeping”, which is surprisingly still a thing, is quite a destructive method of keeping bees to be honest. They don’t use removable frames and instead let the bees produce their comb how they want inside the cavity. The beekeepers did very little at first other than throw a swarm into a skep and leave the bees to it. They wouldn’t really bother the honeybees until the end of the year when they would either kill the bees by “sulphuring” the skep (placing the skep into a container with burning sulphur) or drive the bees into another skep using cool smoke, thus saving them in the process. Once the bees were no longer in the skep, the honeycomb would be scraped out, mushed up in a barrel or large clay pot and then pressed or sieved through a piece of cloth. The wax was then used to make candles among other beeswax items.
The issue with skep beekeeping was that although it was a very cheap and relatively labour free method of producing honey, it wasn’t especially efficient. Many skeps would be needed to produce a decent amount of honey for a household, and it was usually “contaminated” with bits of bee larvae as everything was scooped out and crushed.

The next step was to create skeps with removable sections. Imagine a skep with its top cut off, placed underneath another skep. This allowed the beekeeper to wait until the bees had moved their brood area to the bottom before swapping the full skep on top with an empty one. The bees would then travel back to the top and start making comb again from scratch. This was much less destructive for the bees and reduced the chances of bits of baby bee goop ending up in your honey. Before this stage, beekeepers had to wait until a hive swarmed to collect the bees to create a new colony. With the invention of using these sections they were able to take “slices” of established colonies and place them under their own empty skeps to create a new one. In essence the beginning of making artificial splits that we do so often these days.

This is pretty much how it went for hundreds of years until 1818 a Ukrainian beekeeper named Petro Prokopovych came up with a new design that included movable frames in the honey areas (the bottom brood area was still built how the bees wanted). This was the first stage of modern beekeeping and made the process much more efficient as individual frames could be removed and crushed at any time that they were full. In essence it allowed families to have honey on demand throughout spring, summer, and autumn. The Problem with Petro’s design was that the combs were quite far apart meaning that the spaces in between the frames would be filled with wild comb and the frames themselves were quite heavily propolised down.
In 1848 another apiarist called Johann Dzierzon from Poland improved Petro’s design because he had worked out something called “Bee Space” which is the natural spacing bees keep between honeycombs. Anything larger than this space is filled with wild comb. Anything smaller is filled with propolis or wax. This revolution changed the way honey was harvested but still the brood area was a chaotic mess of comb.

It wasn’t until 1852 that a German apiarist called Baron August Sittich Eugen Heinrich von Berlepsch (yes that is a single name!) decided enough was enough and invented a “brood box”, virtually as we know it today, with removable frames the correct distance apart and perfected Johann’s “honey super” design! We still have not really changed our methods of keeping bees since ol’ Baron August got us to this stage.
“But Greg…” I hear you start “…you devilishly handsome young man…” I hear you continue “why have I never heard of ‘Baron Von Burp-lush’?”

Well dear reader, that is because of an (you guessed it) American that patented the removable frame beehive design that same year! Okay, that’s an unfair statement… Rev. Lorenzo Lorraine Langstroth’s design was actually superior in that you could stack multiple boxes on top of each other, as you accessed the frames from the top of the boxes rather than in Baron August’s design where you took the frames out from the side. Langstroth genuinely industrialised the beekeeping hobby, allowing more honey to be produced by a single hive and in turn allowing the first bee farmers to start their lucrative line of work.
Modern Beekeeping
Beekeeping really hasn’t changed that much. Instead of using old wine crates we use specifically designed boxes and frames. Let’s have a look at the components of a beehive.
The average hive has a floor, a brood box, a queen excluder, honey supers, crown board and a roof.

The floor (usually) has the hive entrance, which denotes the direction in which the bees will fly in and out. There are a few types of designs available, the two main ones are a vented floor with “varroa mesh” and a solid floor. The varroa mesh has holes small enough to stop intruders from gaining access to the hive but large enough to allow varroa mites that fall off the bees or comb to plummet out of the hive to the ground below. The venting allows for greater airflow too which can reduce humidity/moisture problems in winter. The solid floor is thought to emulate the natural hive more than the vented one and provide the colony with more insulation. Jury is still on which is best, but I use vented as North West England is a humid place and I want to give the bees the best ventilation they can have.
The brood box is the biggest box and has large frames to give the queen as much room to lay as possible. These have barely changed from Rev. Langstroth’s design and rely on bee space to stop the hive from being filled with wild comb. The queen is kept in place by the use of a queen excluder, a plastic, metal, or wooden screen with gaps just big enough for workers to squeeze through but too small for queens and drones. Using a queen excluder prevents the queen from laying eggs in the honey supers which means a greatly “reduced” chance of larvae contaminating the honey during extraction.
There are many beekeepers that don’t use queen excluders as they believe the screen stresses the bees out, as well as other things like “giving the queen full access to the hive will reduce the chance of swarming.” These beekeepers usually call queen excluders “honey excluders” to get the point across to newbies how they feel about them. There was a study in 2018 to see if a queen excluder caused more stress to bees than without and their findings were that there was a minimal increase in stress which was caused by the bees storing some nectar in the brood chamber rather than taking it straight to the supers. It’s down to you if you want to use one but I personally like to know that my queen is definitely below it and I like that I don’t have to check every super for swarm cells or disease during my inspections.

The honey supers are usually a bit smaller than the brood box with smaller frames. This is because when full of honey frames can get SUPER heavy. The difference is that the “shallow” super boxes weigh around 15Kg when full of honey, “deep” brood boxes are around 25Kg which is getting to the limits of what most people can carry easily. A bad back is synonymous with being a beekeeper just because we’re all hefting big heavy boxes all the time and chances are that most of us are getting on in years. Save your back and use smaller boxes for honey!
The crown board is entirely optional. It’s useful to have an extra layer before the roof to add insulation, give some space to put feeders/food, and stop the bees from gluing the lid onto the hive. Many people have now moved to using large poly swienty or abelo ashforth feeders instead as they give a lot of space for sugar syrup and the polystyrene gives the bees really good insulation in winter. The only downfall with using these feeders is that a lot of crownboards are modified with “bee escapes” to clear honey supers of bees during the honey pull. If you don’t use a crownboard then you need to figure out another way to get the bees out of the boxes.
The roof of the hive is self-explanatory really. It stops the colony from getting wet from rain and traps in the heat inside the hive body. There are all sorts of roofs available on the market. The main difference is the cavity space between the ceiling and the crownboard below. Manufacturers usually leave at least enough space that you can put a block of fondant over the crownboard, to feed the bees over winter, without causing problems. Some give enough of a cavity to allow a large feeder to be spirited away under, for autumn feeding.
British National frame size
If yore Bri’ish’ loyke me…. Innit… then you will most probably be using British National frame sizes and not the Langstroth/Dadant frames used almost everywhere else in the world. I’m not quite sure why we’re different to the rest of the world but ho hum, here we are. The benefit is that our hives generally have a square footprint, meaning you can change the frame orientation no matter the entrance direction. Langstroth hives are generally rectangular so you can only have the frames perpendicular to the entrance. The reason this is useful is because its easiest for Langstroth owners to do their inspections from the side, whereas we can stand to the sides or back of the hive if we want. This allows greater versatility when it comes to hive placement.
The main issue with our British National hives is that they have smaller frames. A colony of bees needs around 40L of brood space to be content. National brood boxes only have about 35.7L of internal volume meaning that we really need to be good with putting honey supers on in time. In early summer when she’s at her peak, a queen bee can lay up to 3000 eggs in one day, which is an incredible feat! Seeing as only one egg is placed into a cell it means, to keep her and her bees happy, a brood box needs to have at least 3000 empty honeycomb cells per day, which sounds impossible! It kind of is to be honest... but fortunately, she is only at her peak for a few weeks of the year so generally you are okay fighting swarmy fires at this point.
Many beekeepers use a double brood or a brood and a half configuration. This means they either use two brood boxes on top of each other, giving the queen +70L of space; or they put a super box under the queen excluder, to be used as a smaller brood box, giving the queen around 60L of space. There are issues in doing this as the bees will fill the extra space they don’t need for laying first before moving through the queen excluder, also you have to inspect two boxes of frames instead of one per colony. I personally stick to a single brood box set up as I’ve found inspecting extra boxes takes up way more time, which I just don’t have at the moment with a baby; and when I’ve tried both the double brood and brood and a half set up in the past, the bees would still want to swarm eventually anyway.
It is entirely a personal preference on how you have your brood area set up. I’d suggest giving them all a go and see what works best for you!
There you have it, a quick history and description of the bee hive.
If you have any questions about the subjects mentioned in this post, then please contact me via any means and I will answer as best as I can. I will also keep updating these “Beekeeping Basics” posts, so they have any questions received and their answers at the end.
The next blog post will focus on swarming and what techniques beekeepers have to reduce the chances of it happening.
I hope you’re all safe and well!
Greg
The Beehive Q&A’s


Comments